Listing Commands
The Listing commands insert a 2D table that displays the information of the elements inserted in the model.
The list will show the information of all existing elements of the same type that are in the model, according to the list settings, and will update automatically when new elements are added or existing elements are removed.
The lists can be exported to Microsoft Excel or HTML format with the laExportList command.
Insert a list
Steps:
- Run any of the listing commands.
- Specify an insert point in the model to insert the List.
List options and parameters
The Listing parameters are divided in different tabs, and are available from different dialogs:
General
General attributes for the plant label: Name, Color, and Layer.
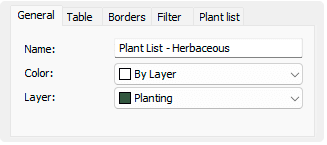 General list tab
- Name: List title.
- Color: The color of the list can either inherit the color of its layer or be set as a custom color.
- Layer: Layer name where the list object is located.
Table
This tab defines the text format and attributes for the List Title, Header and Data. You can also define the List cell margins and border properties.
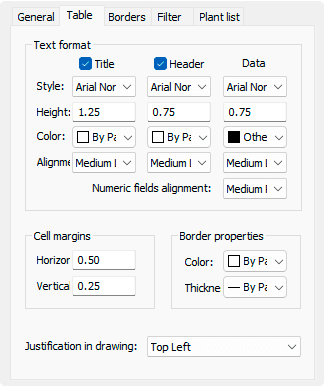 Table tab
Text format:
- Style: Font used for the text.
- Height: Size of the text.
- Color: Text color.
- Alignment: Text position within the containing cell.
Cells margins:
- Horizontal: Space between the table's content and the left and right edges of the table cell.
- Vertical: Space between the top and bottom edges of the table cell.
Border properties:
- Color: Color assigned to the list structure.
- Thickness: Linetype scale for the list structure.
Justification in drawing: Alignment of the list relative to the insertion point.
Border
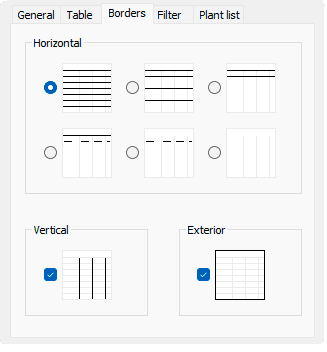
This tab defines the table borders.
 Border tab
- Horizontal: Pick a configuration for the lines that define the horizontal divisions in the list.
- Vertical: Pick a configuration for the lines that define the vertical divisions in the list.
- Exterior: Set a boundary that encloses the entire list, providing a visual border around its perimeter.
Filter
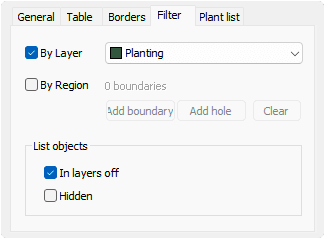
This tab enables you to filter and selectively choose elements from the list. By default, all visible elements in the drawing are listed.
 Filter tab
By layer: Create a listing with the species from the selected layer.
By Region: Create a listing with the species from the selected region.
- Add boundary: Select the curves to define a boundary.
- Add hole: Select an inner boundary to remove from the listing the elements contained within it.
- Clear: Clear the boundaries selection.
List Objects
- In layers off: Include in the listing the elements that are on deactivated turned-off layers.
- Hidden: Include in the listing the elements that are hidden in the drawing.
<Element> list
This tab lets you edit which fields are shown in the list and how they are displayed in the header.
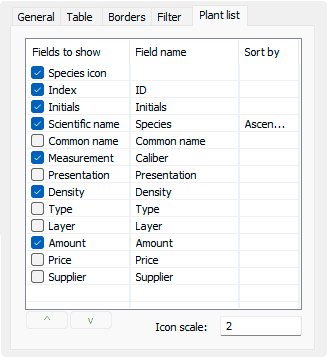 Element list tab for a Plant list
List content: You can decide whether fields are computed in the list or not.
- Fields to show: These are the parameters available for the object to list. Click on the checkbox to show or hide them. New fields can be added by creating custom parameters and assigning data to objects.
- Field name: Name fields are assigned by default. Click on field name to change the header name.
- Sort by: Click on the desired parameter under Sort by to set it as the main parameter by which the table will order the values. Click again to switch from Ascending to Descending and vice versa.
Note The fields are different for each for list of objects. Explore the different listing commands to learn about the available fields in each of them. New fields can be added to the list from: Options > Parameters.
Arrow buttons: they let you change the order in which each field is displayed in the table.
Icon scale: It displays the 2D representation of the object. You can edit the scale value to control the icon size.
Edit options
These are the edit options for the list object, available in the Edit area of the Edit panel:
 Update
- Copy properties from another object
- Adjust
- Don't adjust to terrain
- Listing
- Export
- View tabs: (only for plant lists). It opens the Plant database with the list of plants included in the list.
List graphical display
A list is a 2D object and it is displayed always in 2D, regardless of the 2D or 3D display mode setting, in the Edit panel.