Layout
 left click
The Layout command creates a print layout viewport.
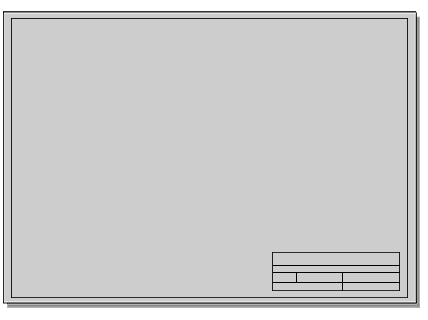
A layout viewport represents the sheet of paper that will be sent to a printer or a file such as PDF. Layouts can include various views of the model and annotations like title blocks and notes.
These viewports are accessible on the tabs at the bottom of the modeling area.
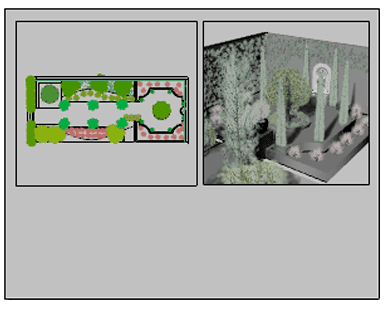
Layout viewports contain detail viewports that...
- Display different views of the model.
- have viewport properties that can be accessed when a detail is made active.
- have object properties that can be accessed when a detail is selected.
The color, width... of the detail viewport edge including No Print are set in object properties. - are created on the current layer.
- can only be rectangular. To define your own shape...
Create New Layout
Steps:
- In the New Layout dialog box, specify options.
- Draw a border or insert a title block onto the layout.
Add text that does not relate to the model such as the project name, sheet number, sheet content, and the like.
- Create details and arrange them on the layout.
- In each detail set up view of the model, orientation, and scale.
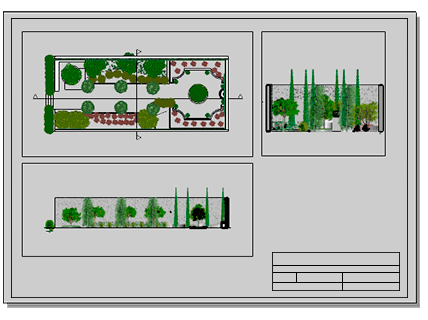
- In the layout viewport, add text, lists, labels or dimensions.
- Set the visibility of the detail edge on the printed page.
Use Properties to access the Print Width property.
Properties
The Layout properties are set from a floating dialog box at the time of creating a new Layout. And they are editable from the Properties panel at any time.
Name
The layout viewport name.
Initial Detail Count
The number of Details to start a new layout can be 1 to 4.
The descriptions of the numbers show the default views of initial Details.
A new 4 view layout can start with first or third angle projection.
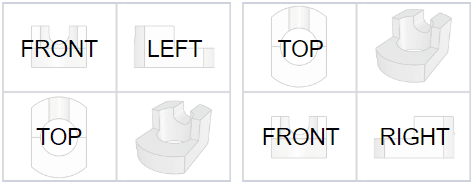
First angle projection(left), Third angle projection(right)
Printers
Select the target printer from the list of configured printers.
Size
Select a paper size supported by the printer.
Portrait / Landscape
Sets the orientation.
Width / Height
Sets the size of the paper as well as the width (x length) and height (y length) of the layout. If the paper size is not supported by the selected printer, the Printer setting will be disabled.
inches / millimeters / centimeters
Units for the paper size. If the selected unit is different from Document Layout Unit, the selected unit will be converted.
Make layout details of any shape
You can make details of any shape using a solid white hatch in the layout.
Steps:
- Set up a layout with one or more details. Scale the details as you wish
- Scale the details as you wish.
- In the layout, draw your detail shape.
Use any planar curve: Circle, Curve, InterpCrv, Rectangle, etc.
- Create a solid hatch using the rectangle at the drawing edge and the inside shapes.
- Make the color of the hatch white.
Note: You cannot bring a detail above the hatch. Hatch has draw order priority to be on top.